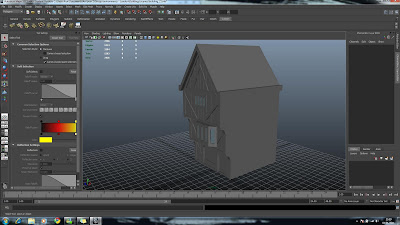
This is the reference image for the start of modelling my house. I took this from a selection of images some of my group members posted on our blog.
I started off my building by using a single plane sized (9 x 10 meters) and duplicated it 3 times to create my walls. I measured out these measurements with the group at uni, to make sure we all had the same scale of buildings.
I then selected the front face and extruded it outwards to give the separate floors. I wanted to keep the levels quite close to the same ratio so I matched the subdivides to the meters of the house. I also had to make the buildings taller as the plane wasn't long enough.
Once done, I started to work out where the details would be as well as subdivide the top of the plane to create the roof.
I then made a plane and matched it to the building by snapping to the vertices of the buildings top.
I worked into the windows by extruding them inwards after i subdivided them to give them a bit better shape.
Once the window was complete, I applied a blinn to them and reduced the transparency. I also applied a slight blue tint to it. this wasn't necessary but at the same time, it gave me a better idea of how my building would look from the outside in.
I continued this process onto the next level of my building to create the next window.
Here I subdivided the front of the building to create the details of the woodwork. I then selected the faces so that I could extrude them outwards.
Ater the first extrude of the panels, I then selected the thicker beams to extrude them out once again to give the effect of wood being layered/combined to create the frames for the building.
Afterwards I used the same method to create a window panel on the lower floor.
And once again I continued this on to the front of the roof.
The last thing left to model was the roof. I already had a roof in place but It was flat, so I decided to split it down the middle and delete one half. I then carefully extruded faces out while matching vertices so that each tile layer was the same length. I did this by temporarily adding reference points in between tile layers then deleting them after when extruding.
After this I mirrored the geometry across the -x while merging the vertices to complete my roof. After this was done my building was pretty much complete in terms of modelling.
I could have modelled the sides and back of the building with details as well but I diddnt feel it would be nessesary as it wouldnt be seen in the animation. Also even if the building was seen, It would be so close to another one that you wouldn't see it.
Here is my house fully modelled by my self. Deon then volunteered to texture it while I began modelling inside of it.
This is a image of my house in the street it self.
Reflective point? I have to say I am really proud of my house. Out of everything so far, this is a high. I think that I may even go back to this house and re-texture it my self at a later date for my show reel.


No comments:
Post a Comment